

Google is strict when it comes to the security and quality of the website. If you have website contains any malicious code or software, Google will take no time to warn its user about the same thing.
Therefore, you might see that your website has malware or a similar type of notice. There are many warnings that Google might give.
Although, the text is different the procedure to remove them is almost the same. So, we won’t cover all of them one by one instead we will see a common pattern you can use to remove the Google blacklist warning.
Overview of Remove Google Blacklist Warning
First, let’s understand the Google blacklist warning before we proceed to remove it. Usually, this type of warning comes when there is an infected piece of code on your website. Luckily, you can also remove them.
If the code is infected enough, it will show users a full red page that says “The site ahead contains dangerous apps”. It could be many similar things and there will be two options for the users to proceed. Whether they can Go back to safety or they will have to click on the proceed button. Most people will prefer to click on the back button instead of moving ahead. That’s a fact.
Therefore, you will have to fix this.
Before that, we will see some of the possible ways this error is shown.
- This site may harm your computer
- This site may be hacked
- This page is trying to load scripts from unauthenticated sources
- Deceptive site ahead
- This website has been reported unsafe
- Warning: Visiting this site may harm your computer
- Software is preventing Firefox from safely connecting to this site
- Warning: potential security risk ahead
- The site ahead contains malware
- The site ahead contains harmful programs
- Phishing attack ahead
- The site ahead contains dangerous apps
- Suspicious site
- Deceptive website warning
Some people even consider the SSL Expired warning as a Google blacklist warning. So, we will also include information about it as well.
In most cases, these errors will be shown on the full page when you open the website. However, in some cases, you will just see a sign. Upon searching your website on Google, you find the warning “This website may be hacked” is also similar but not the same.
We will now see how you can remove the warnings. For that, we will clean the website first.
Preparing for Security Audit
Before we start scanning our website and remove all the malware and virus, we will first have to keep in mind a couple of things.
The first thing you need to do is open different URLs and subdomains of your website if you have any. See if the warning is for all the pages or it was for a particular page only.
You can see the following locations.
- example.com
- example.com/XYZ
In this way, you will get an idea of which are the pages or the directories affected. Please note that it is also recommended that you check the new website with both protocols as well.
- http://example.com
- https:///example.com
- example.com
See if the error is there on all the pages or it is only coming in a specific protocol. This might be an issue with the SSL too.
Backup your Website
The next thing is to create a complete backup of your website. Don’t just take a backup of one directory or some of the files. You will have to take a backup of all the websites you have. If your domain name has 5 subdomains, we suggest you take the backup of all of them. This is highly recommended if you are using the same WordPress installation or multi-site network for all of them.
Even if you aren’t using the same installation, you can create the backup. Don’t forget to add the database in the backup. Sometimes, some people forget to add the database in the backup and end up with a huge loss when something happens.
Once you are all set, you can start the process and make sure that all the viruses and malware are removed.
Save the backup in a safe place. You don’t necessarily need to download the backup, you can keep it on your server for a while.
Fix Google blacklist warning with Tools
We will first see the easy way to fix the issue. We will be using the tools available and see if it works.
There are two main types of tools you can use:
1. cPanel virus scanner

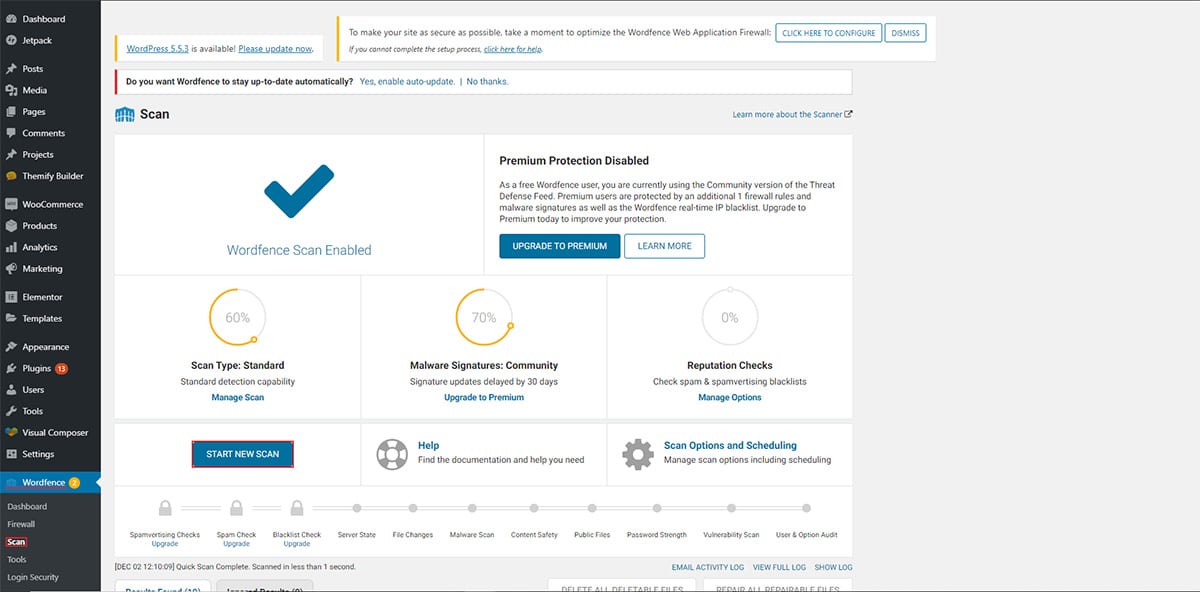
2. WordPress plugin (Sucuri or Wordfence)
The steps are the same for both of the tools. We will see a quick overview of both of them.
- Open the scanner. You can head over to cPanel > Virus scanner for the cPanel scanner and if you are using a plugin, you can access the scanner from your WordPress dashboard.
- You will have to scan the complete website with it.
- Wait till it finishes.
- Once it will finish, you need to see the list of infected files. It’s recommended to save the file for future use.
- Thereafter, you can fix the file from the options given on the scanner itself. Yes, the scanner will also allow you to fix the malware or malicious code.
- So, you can fix it and see if it is working back to normal or not.
Please note that it might take some time in scanning your website depending on the size of the website. It’s recommended that you wait for at least a couple of minutes and start the scanning process.
Some of the tools will allow you to leave the page as well. In such a case, you don’t have to keep the tab open till the scan completes. You can simply hit the exit button and do your task until the task is completed. You can come back to the same page later to see if it has scanned the files or not.
If you have the list of the files, you can carry on.
Finding Malware Manually
If the above-given trick doesn’t work or you need some extra security, here is a small manual trick for you that you can use.
The manual trick will help you to make sure your website is extra secure.
Check the Files
The first thing you need to do here is to check the files manually. You don’t need to check every single file, it would take hours and still, the work won’t be completed.
Instead, what you need to do is check the files that you found in the previous step of scanning.
Open the file and see if the file has an unusual code. Don’t worry, you don’t need coding knowledge. You will easily figure out the encrypted code (if there is any) on the code.
If you find any encrypted code, you can simply delete it. Make sure you have the backup of that file. Even if you have taken the backup, you can download this file for backup. In this way, you can double sure and it will be easier for you to replace the file if it crashes your website.
Talking about replacing files, we are here with the next thing you can do instead of checking the files.
Replace the Files
You can also replace the files by downloading them from original source. It’s easy and fast. All you need to do is find the source of the file. If it’s a plugin, you will have to look for the plugin directory from which you downloaded it.
In the same way, if it is a theme file, you can easily replace them from the theme directory.
If you can’t find the file you want to replace at the initial source, you can search for the files from one of your backups. All you need to do is look for the backup and find the same file.
In some cases, updating the plugins and themes will do the job. So, you can surely try to update the themes, plugin, and also the WordPress version.
Further, if it’s one of the core files. You can download the official zip file from the WordPress.org website and then extract it on your computer.
Now, you will have to find the exact file that is infected. You can simply replace the file and that’s pretty much it.
The thing that you need to keep in mind here is that never replace wp-content files or wp-config.php file. These are the files where your WordPress content is stored. Replacing them will remove some content. If you replace the wp-config.php file, you will have to modify it and enter the database details again. That’s the file where all the database details are stored.
So, don’t alter these two files. Other than this, you can surely replace all of them.
Database Entries
The next thing you need to do is check the database entries. Open your database by going to PHP MyAdmin and then opening your WordPress database. Take a quick overview if there are any strange text or entries. The main table to check here is wp-options. Check that table and see if there are any strange entries.
If you find any, you can simply remove them. Make sure you have taken the backup of the database before you hit the delete button. If you haven’t yet taken it, you can export the database and save it as an SQL file. Thereafter, you can delete the entries.
The same rule applies here as above. check the website again to make sure there are no changes or it hasn’t crashed your website. You can have a quick look at the database. There are very few chances that the database has been compromised.
SSL Certificate (Applicable only for some people)
We will have a quick overview of this part too. In some cases, due to the inappropriate set up of SSL, you will see a blacklisting issue. We won’t go into depth because this is a topic for another day. However, it will pretty much solve the issue and get you where you want. So, you will face no issues here.
Make sure you are using the proper plugin to setup SSL. You can use a plugin known as “Really Simple SSL”. It will do your job. If your SSL is expired, you might also face the same issue.
Last but not the least, in some cases, you might not have added the protocol on the settings page. Go to Settings > General and change the URL from HTTP to HTTPS and it will do the job easily. Therefore, you should surely try all these things to solve the SSL certificate blacklisting issue.
Inform Google
Once you do all the changes and the blacklisting issue is finally fixed (according to you), you will have to tell the same thing to Google.
In some cases, even if the error is fixed, you will still see this issue.
Therefore, the first thing you need to do is clear the cache memory and try again. If the Google blacklist warning is still showing, you can inform Google about it.
You can do this by heading over to Search Console and from there, you can easily fix the issue. In the search console, you can submit your URL for inspection. It will tell you whether your URL is clean or not.
If the URL is clean, you can click on the Request Reindexing button. After clicking on it, Google will reindex your website. This is the way of telling Google that the page is updated.
In the same way, if you see the same thing in the “Messages” section of your console. You can click on the “fix now” button and fix it from there also.
Final Words
To conclude, these are some of the things you can do to remove Google blacklist warning issues. If you see it coming, there will be some problem with your theme or plugins. So, the next thing that you will have to do is make sure all the plugins and themes are updated. You can also use a premium security tool or service for the same thing.
How to Clean a Hacked WordPress Website using WPServices?
WPServices provides a risk-free WordPress malware removal service. 30 day money back guarantee, the most complete WordPress security plugin called iThemes Security Pro (worth $199 / year) + advanced security setup, and repeated hack protection for up to 1 year is included in the WordPress cleanup service. All of this has an industry best pricing – starting from / fixed website.
We value your time and thank you for reading our blog. So, we would like to show our appreciation by giving you an additional 10% discount on our malware removal service. Use coupon code WPAOSBLOG10 at the checkout.


