

Zapier is one of the tools that will allow you to put your WooCommerce (WordPress) website on automation. You can automate all the things in WooCommerce with the help of Zapier. It will allow you to create a small zap that will do a particular task for you. We will see all the things you should know about automation and then we will see something about Zpaier. Don’t worry, we will see the best use cases in which you can use WooCommerce Zapier and get the most out of it. So, it’s going to be a lot more valuable as it allows you to automate your WooCommerce store with just a few clicks.
What is WooCommerce Zapier?
We will first see the most basic question that is what is WooCommerce Zapier. It’s an awesome tool that allows you to do repetitive tasks on automation. You might have surely heard this at many places where people are saying automation is the future. So, are you implementing it yet?
If not, this is the perfect time to start automating your tasks. You can connect as many apps as you want with it. It allows you to integrate it with many possible apps. This will remove the stress of using just WooCommerce Zapier. You can use it with Google sheets or if you are using an app such as an email marketing app or CRM, you can easily integrate it with them.
This is how you can automate all your tasks if they are connected to these apps.
One of the simplest examples here on how you can automate your work is by connecting WooCommerce with Google sheets. You can connect them and you will get every order directly on your Google sheet. You can also keep it in this way where every customer that registers on your website, will trigger the Zapier. Now, the customer’s information will be available in the Google sheet. This way, you can automate the work and get what you want.
The point is how you can connect it with WooCommerce, right?
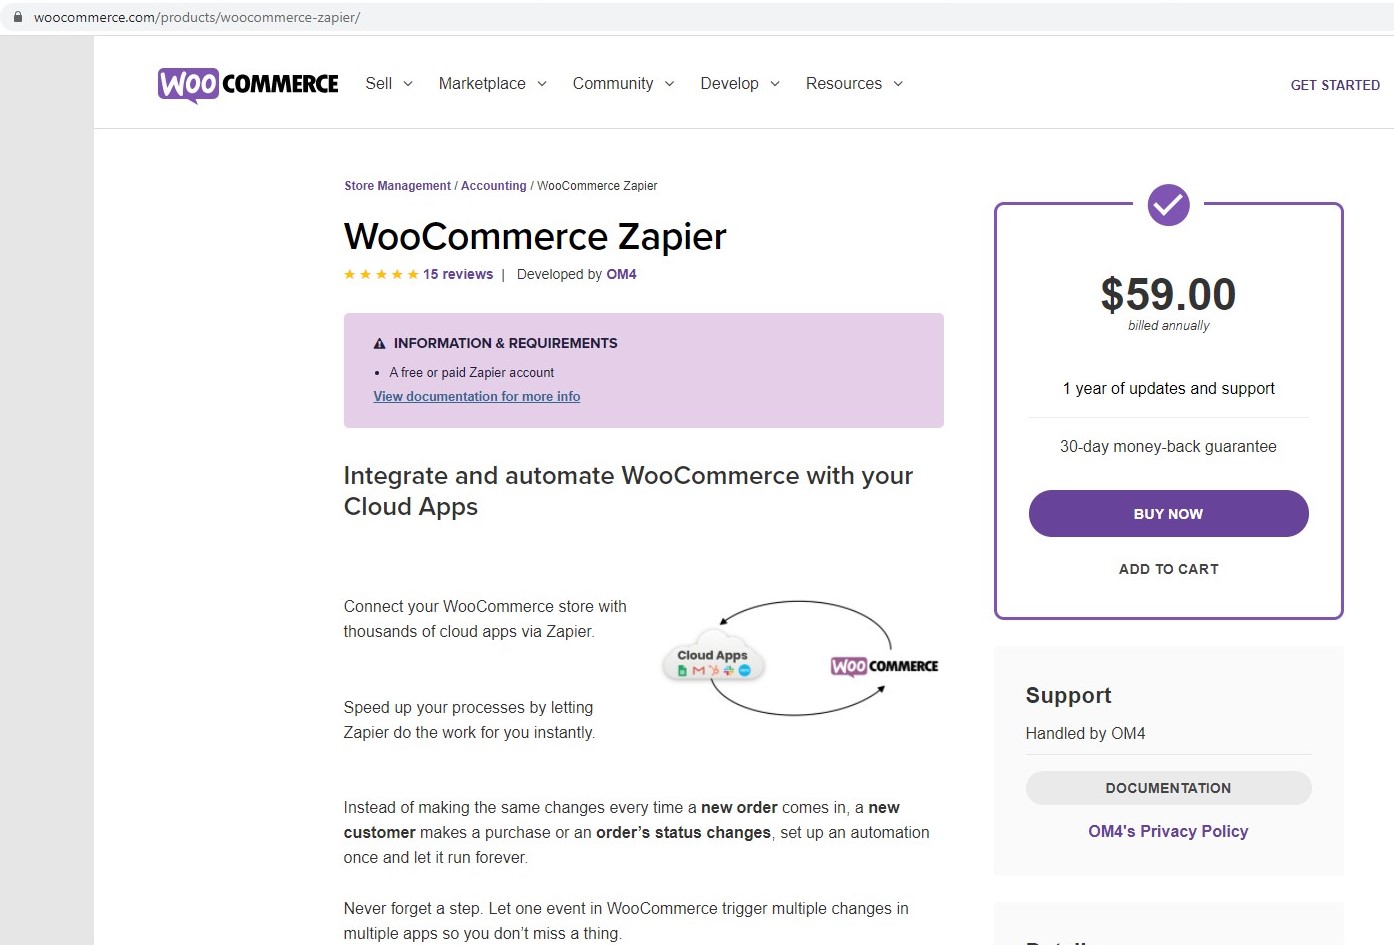
How to connect Zapier to WooCommerce
![]()
You can easily connect the WooCommerce Zapier with a mal plugin. The name of the plugin is the same – WooCommerce Zapier. You can easily install the app and you are all set to go.
You will have to get the plugin at first. Unfortunately, the plugin isn’t free. You will have to pay a small fee to get it. It is surely worth it because the number of features you are going to get here will surely increase the total price of the plugin. This makes it one of the best choices. You can surely pay $59 and get the plugin.
It’s just the plugin cost and not the entire app’s cost. You will still have to pay if you want the premium feature. However, if you don’t want any of the premium features, you can surely get the free version which is surely enough.
The plugin allows you to integrate with WooCommerce. When you integrate it, you can get any data from it and do the automation with this. In simpler words, you can easily connect the orders and users with them. Not just limited to this, there are many other things that you can connect.
We will surely see more about it. Before that, let’s see something about the Zapier account. You will have to create an account there if you want to start levering all the services of automation. So, you create your account and get started with it.
There are certain things that you should know about this as it won’t be possible to know all the things from the website.
About Zapier Account
You will need an active Zapier account to get started with the WooCommerce Zapier.
There are two types of accounts you can create. You can either go with the free plan where you will get a very limited amount of features. The next one is paid plan where you will surely get more features but you will have to pay a small price for it. You can go with any of them.
Now, people might be thinking what are the differences between them.
In the free plan, you will only get 5 zaps. Zaps are nothing but particular automation tasks that you have set. In simpler words, if you set that you need all the orders from WooCommerce in your Google sheet, it will be 1 zap. In the same way, you will need 5 zaps to use in the free plan.
Further, it’s limited to 15 minutes of update time. In simple words, the automation will be checked after every 15 minutes. Continue with the above example, Zapier will check for the new orders after every 15 minutes. If there are orders, it will fetch it and show it to you else they will ignore it.
If you want extra features, you can go with the paid plan. There isn’t just one but multiple paid plans. There are different features you will get in each paid plan. You can go with the best plan as per your requirement. You can also go with the free trial if you are not sure which plan is best for you. You can use the free trial and test it on your account.
Connecting WooCommerce Zapier
You can easily connect both of them by heading over to the main plugin page on your website. Of course, you will have to make sure that you have an active account at Zapier. It can be either a free account or you can also go with a paid account. There are no restrictions here.
Depending on what you like, you can choose one.
Once you choose it, you can surely install WooCommerce Zapier. You can do it from the official website of WooCommerce.
Like we have mentioned before, it’s a paid tool. So, you will have to pay for it if you want to start using it. Thereafter, you can simply upload by going to Plugins > Add New. You can upload the zip file and then activate the plugin. Thereafter, you can log in to Zapier from the plugin and it will ask you for permission. You can allow WooCommerce Zapier to access your Zapier account and you are almost all set.
Add new Zap
You can easily add a new zap by heading over to the Zapier account. You can’t do that from your website. You will have to open your Zapier account and add the tasks from there.
When you log in to your account, you will see an option to add a new Zap. You can simply click on add new zap and it will ask you for the information.
Adding the new App
Let’s say, you want to get all the orders in your Google sheet. For that, you will have to connect Google sheets as well. That’s how Zapier can find the details about your sheet.
So, in the next step, you will have to connect both of the apps. This is where you can add the app and also add the event that you want to do.
The app is the name of the service whereas the event is nothing but the main task that you want to do. Here, it will be updating your sheet. In the same way, you can enter the one that suits you the most. Once you do that, you can follow to the next step
Configuration
In the next step, you can do the configuration. This is where you will enter the details like the name of your Google sheet and the columns you want.
If you are using the paid version, you can also select the update time interval. You can select the best version of it. If you are using WooCommerce, you need to understand that it will send the request to your server.
For that, you need a better server. If you are using shared hosting, the 1-minute time interval is surely something that you can’t do. It will cause a lot of load to the server as it will check for the same request again.
That’s why you need to keep in mind the same thing and then you can carry it forward as per your wish.
Viewing the Zaps
You can view all the zaps from My Zaps in the Zapier account. You can keep it running or pause it if you no longer need it. This will allow you to get complete control over your zaps.
In the same way, if you want to know every single detail of what’s going on with your zaps, you can open your WordPress website. Head over to WooCommerce > Zapier and you will see all the triggers that are being pushed. It’s the list of all the things that are going on.
Further, if you want to modify any Zap, you can do it with few clicks. It will allow you to directly open the zap from the website. You can simply open it and make the changes there if you want to change something. That’s how you can manage your zaps from the website itself.
Features of WooCommerce Zapier
Now, we will see the features of Zapier.
Triggers
Triggers are nothing but the action that you want to automate. You can easily automate these things.
- Orders: created, deleted, paid, restored, status changed, updated
- Coupons: created, deleted, restored, updated
- Customers: created, deleted, updated
- Products: created, deleted, restored, updated
- Subscriptions: created, deleted, renewal failed, renewed, status changed, switched, updated
These are the triggers that you can set. For orders, you can create a trigger that will only be triggered when the order is created or deleted.
In the same way, all things can be triggered.
Actions
These are actions you can take. You can automate the action with this.
You can easily coupon when the order is created or deleted. In the same way, you can take any action as per your wish.
- Coupons: create, find, update
- Customers: create, find, update
- Orders: create, find, update
- Products: create, find, update
- Subscriptions: create, find, update
Extension supported
Many extensions are supported. You can use any of the plugins.
According to the official website, there are some plugins supported. We will now see a list of that.
These are the plugins that are officially supported. It includes Subscriptions, Groups, Gravity Forms Product Add-Ons, Product Add-Ons, Checkout Field Editor, Sequential Order Numbers Pro, Pre-Orders, Order Status Manager, and more.
Customizable
You can customize all things. You can add new users to your team or you can also set the action only limited to a particular group of people.
This is how you will have a limited audience. Meaning that the free version is enough. If you want to target a limited group, you can surely use that free version.
Is it worth it?
Now, the last question that you might have is whether WooCommerce Zapier is worth it or not.
Automation is the future. So, you have to use it. If not now, you will have to start using it anytime soon. Therefore, we suggest you start using the plugin.
This will allow you to make the changes and give you the best results.
If you don’t have a huge budget now, you can go with the free version of Zapier at first, and then you can upgrade it later on. This is how things will work and it will give you the best scalability.
You can easily upgrade or downgrade the Zapier plan. That’s what makes it easier to get the paid plan.
You can also use Zapier outside of WooCommerce. WooCommerce is just an app that we have discussed here. You can also connect two other apps if you want. It’s just an automation tool.
Final Words about WooCommerce Zapier
To conclude, this was all about WooCommerce Zapier and how to use it. You should surely get it. You can buy the plugin and use the free version at first. Then, you can upgrade once you make enough money from it.


