

Elementor sticky header is something that every one of us wants. When you have a sticky header, it will make the navigation faster. The users can open the menu they want in no time. Hence, there are more chances that they will visit other pages on your website. Depending on your website type, it might be necessary to show the header as sticky. If you have various items in your menu bar, it becomes quite necessary to have a sticky header on your website. So, if you are looking to create something similar, you are at the right place.
We will see a complete guide on how you can create Elementor sticky header.
What is the Elementor sticky header?
We will first see what is Elementor sticky header is. You see in some websites when you scroll down, you will also see the header moving along with it. In simpler words, the header is stuck on the top of the website even when you are at the bottom of the page.
That is what the sticky header is. Don’t worry, it’s easier to make your header sticky in Elementor. We will see a complete tutorial for the same.
To begin with, we will also see how you can create the header and set the menu. Many people have no idea about header creation. So, we will also see the same.
Once we set all these things, we will see a brief about custom CSS.
Please note that you will need Elementor Pro for the same. You can’t do all these things from the Elementor’s free version.
So, you can buy the pro version and then get started.
Creating and Setting the Menu
We will first see how you can create a menu. You can easily head over to the Appearance > Menu and then create a menu from there.
There will be an option to create the menu. If you already have a menu, you don’t have to worry about creating another menu.
You can add all the pages, links, and categories that you want to the menu. You can drag and drop the menu items as per your choice.
Once you have the menu, you will have to set the location of the menu. At the bottom, you will see the option to set the location of the menu. As of now, we will see to set the many as the primary menu.

You can check the primary menu box and then save the menu. This will ensure the menu is shown in the header that we are going to create. With that being said, now we will go to the section where we will see how to create the header.
Creating the Header
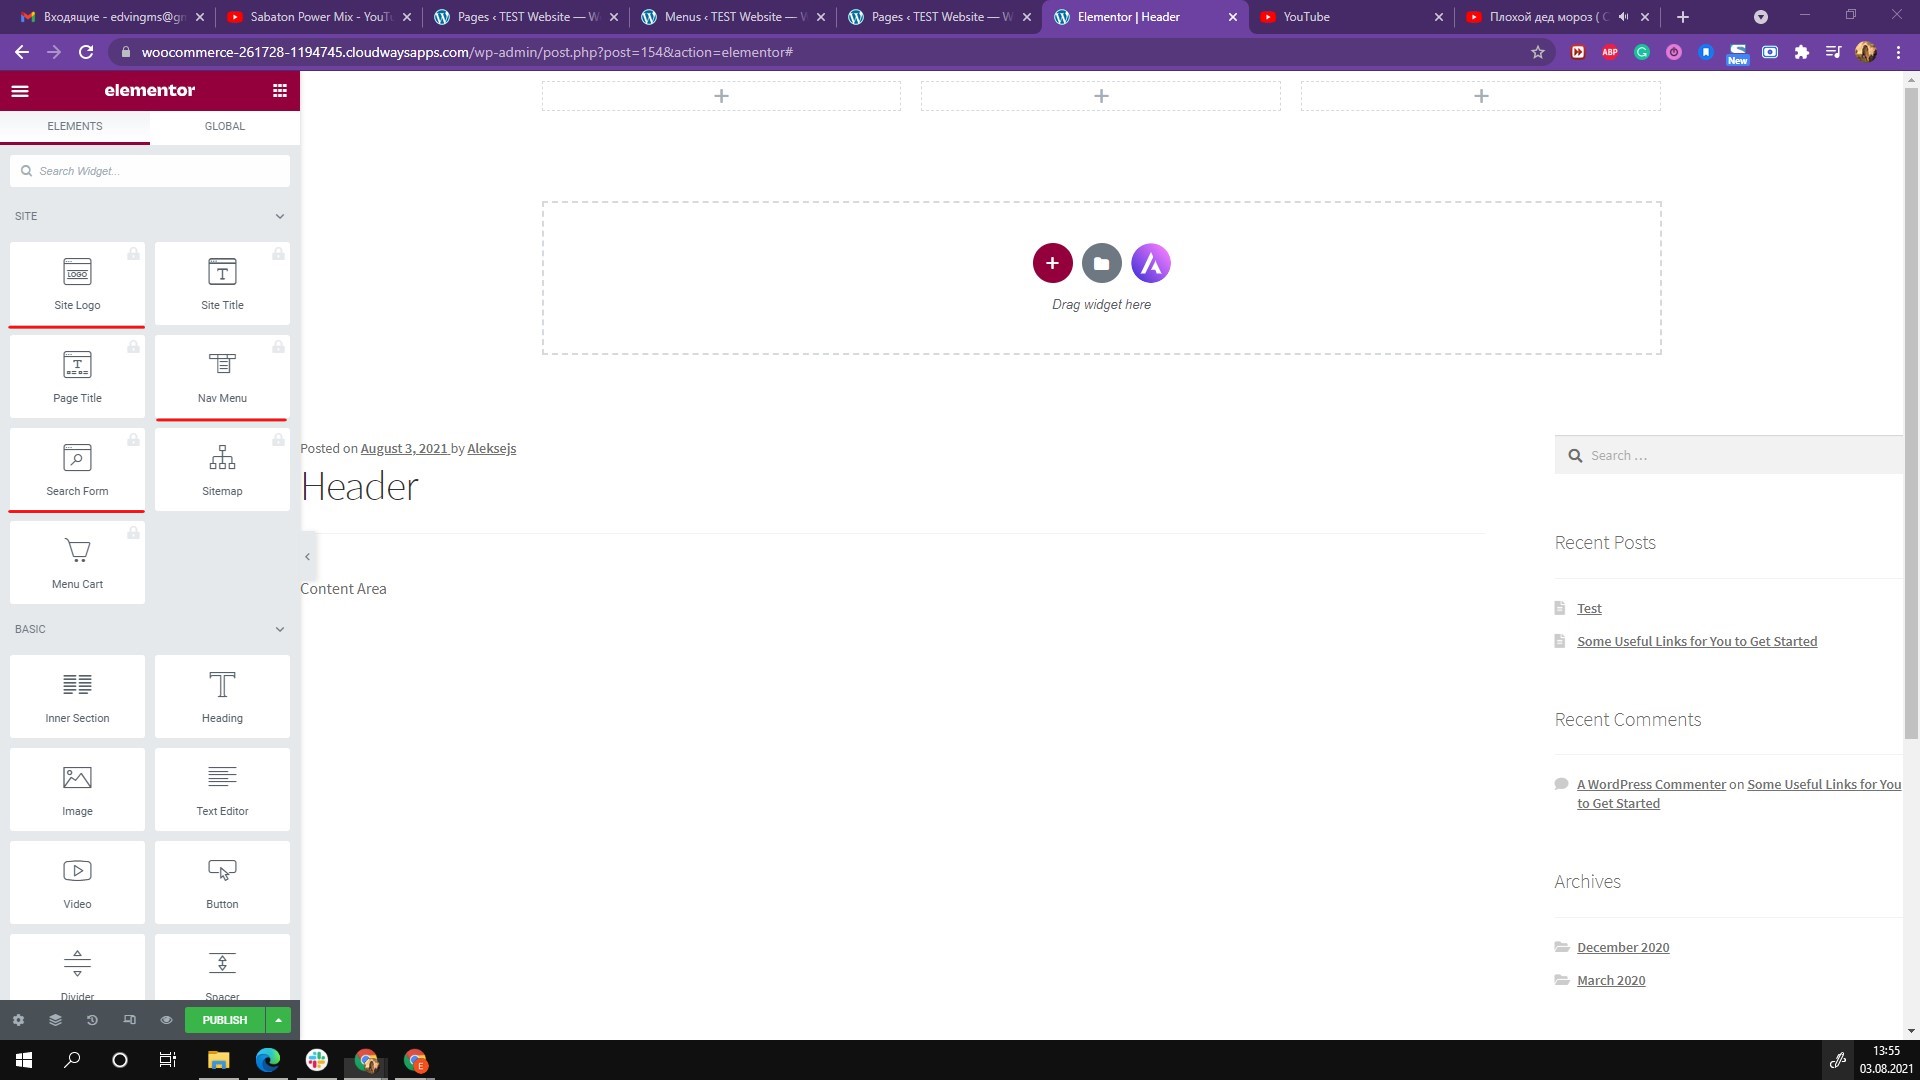
You will then have to create a header. The header can be created using the theme builder.
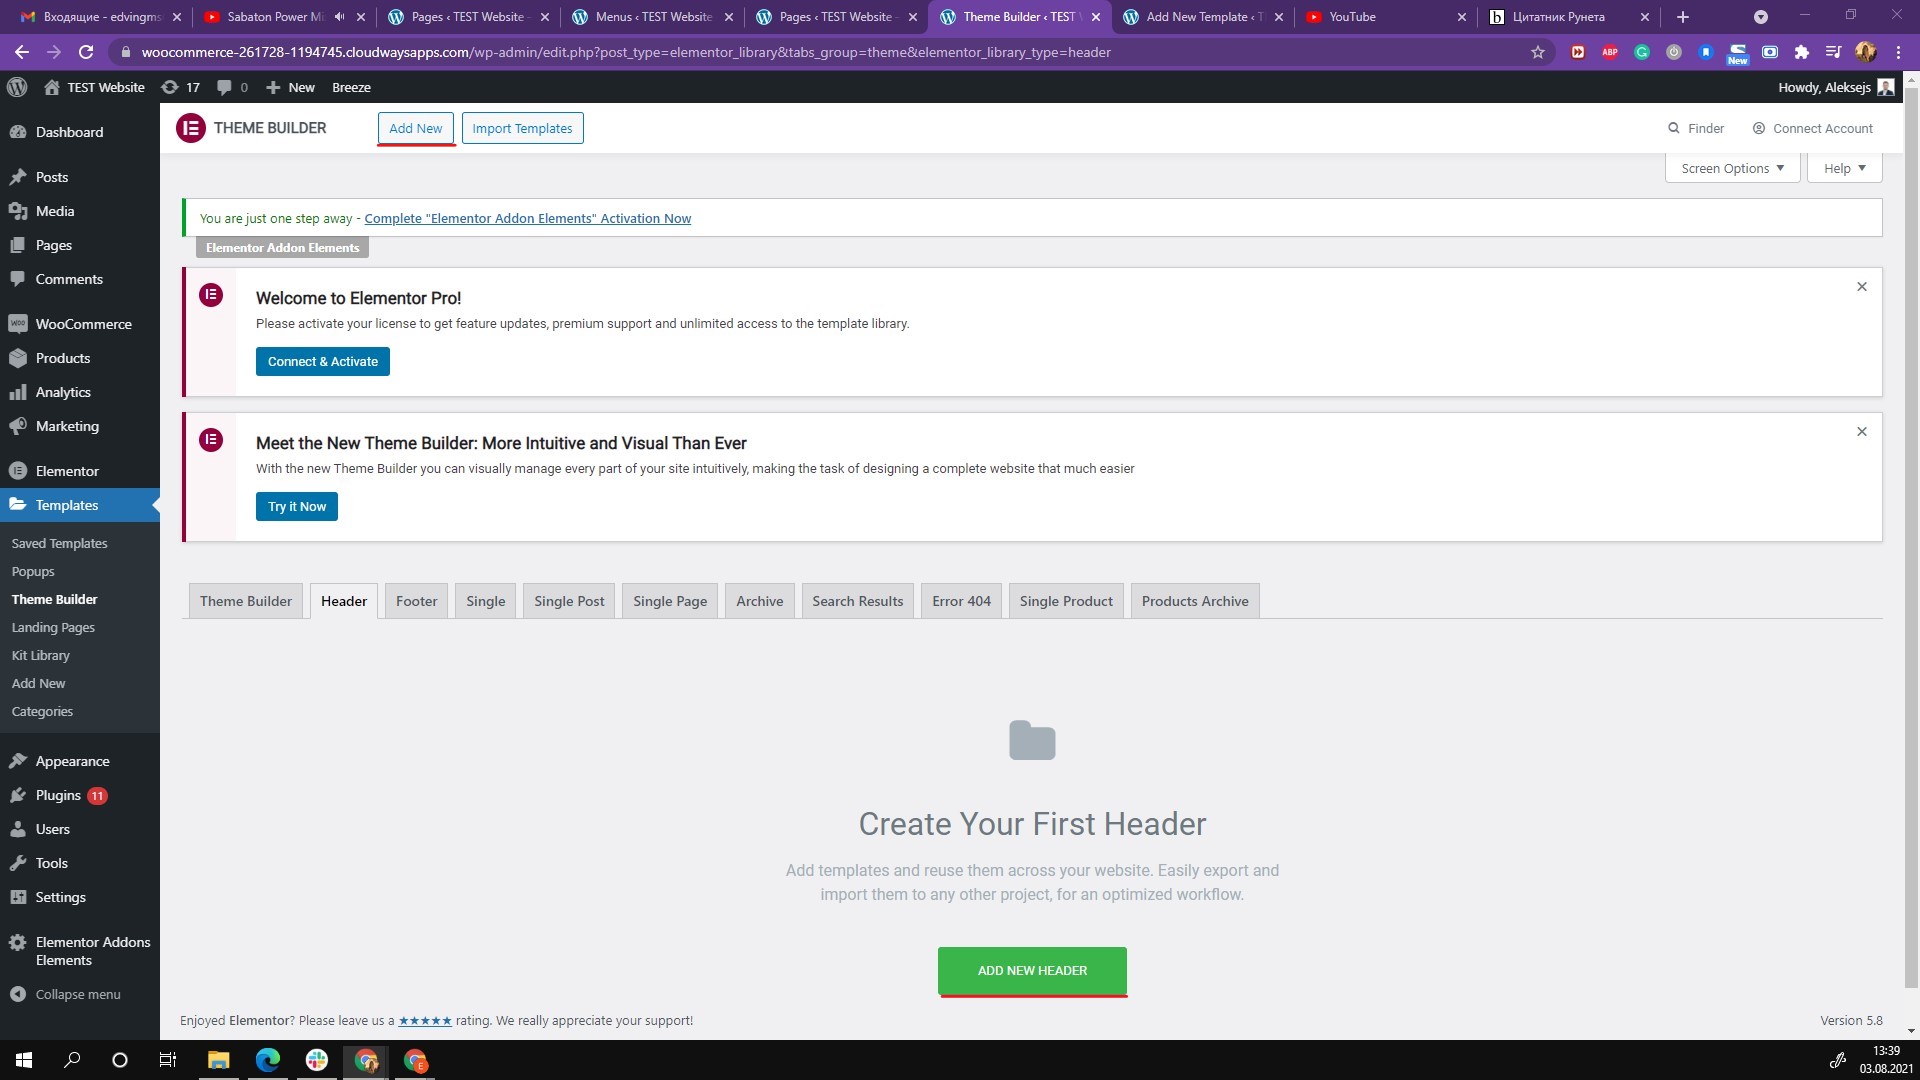
Elementor comes with a theme builder which makes it easier for you to create the builder. Therefore, you need to head over to Templates and then select theme builder. Of course, this option will be available in your WordPress dashboard.
When you head over to the same page, you will see the option to create the header and footer of your website. As we are currently focusing on the header, we will select add a new header and then continue with the process.
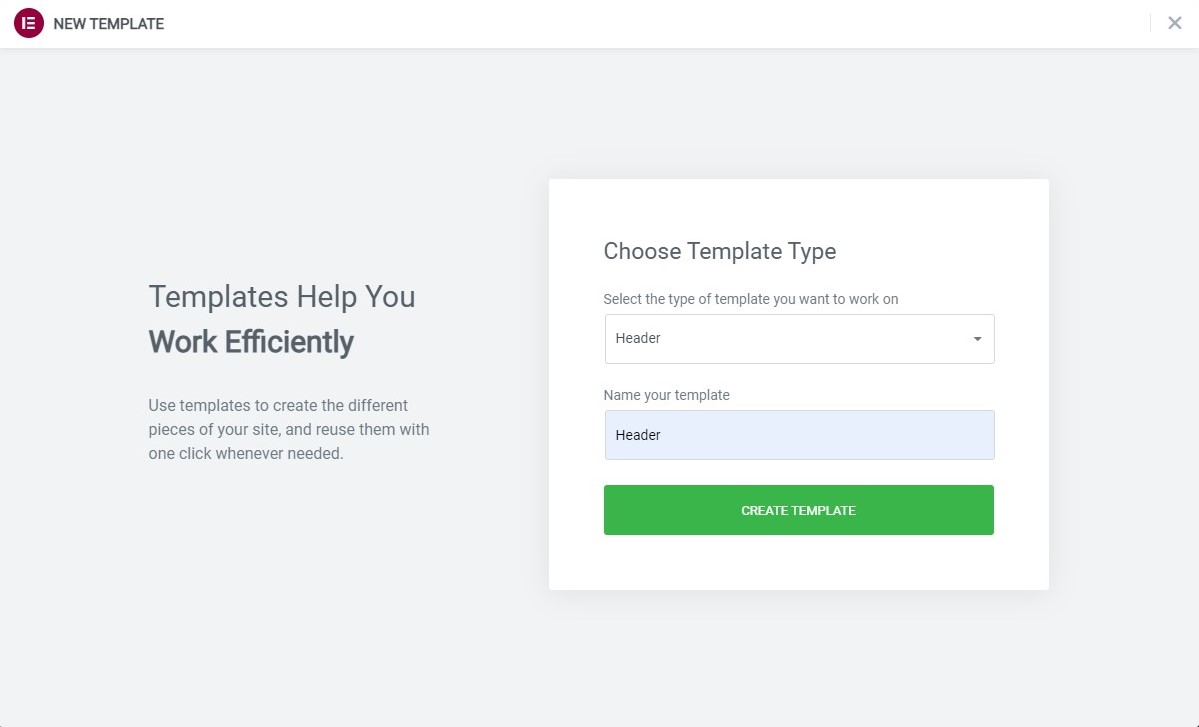
Name and Layout
It will allow you to create a new header.
You will have to name that header at first. You can select any name you want and then continue. This will be the name of your header that will only be visible to you. As of now, we will name it the Elementor sticky header and then continue to the rest of the steps.
It will then ask you to select a layout. You can select any layout you want. Typically, a layout will contain some columns. You can select anyone that you want.
If you want to display the logo and menu in the header, you can select two columns. In the same way, you can also select three-column if you want to display the logo, menu, and search bar.
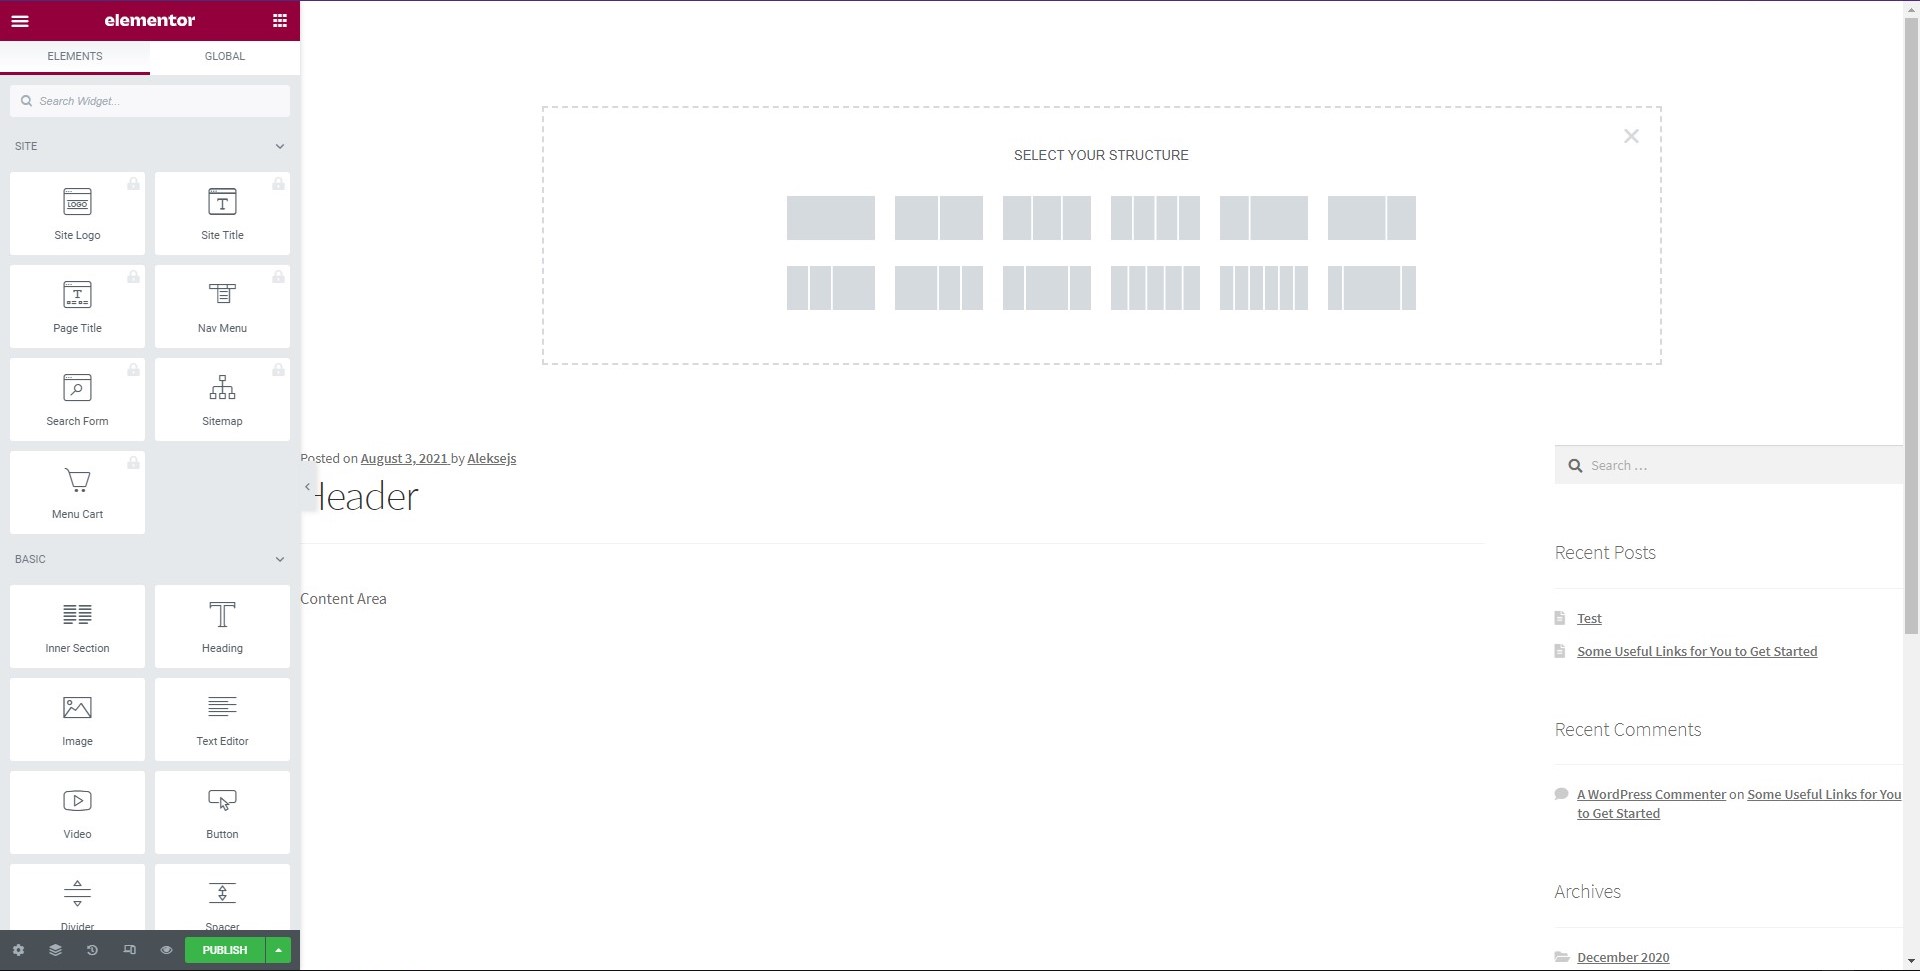
This is the place where you will also have to select the width. If you want to display the logo inside and then directly start the menu, you can select the layout where the first column has less width and then you can proceed.
Not to mention, you can also change the width as per your choice. Once you select it, you are up for the customization part. This is where the next step comes in.
Customizing
There will be various options from which you can customize it. Before that, we will add the elements. You can drag and drop the element you want. For instance, there should be a logo and a menu in the header.
Hence, you can drag and drop the logo in the first column and then drag and drop the menu in the second column. This is how you can set up the header and get started with it. Once you set all these things, you are all set to do the customization.
To make things clear, we will also set the sticky reader from here. We will talk more about it as we move further.
As of now, let’s concentrate on the editing side. You can set the position of the header items and set the column width. Make sure that you customize the settings of individual items as well as the settings for the section.
There will be two options. If you click on the column, you can customize the entire column and make the changes there. In the same way, if you want to edit any specific item in the header such as menu or logo, you can click on that particular item and you will see the settings for the same.
It’s very important to know when to make the changes as it will determine the header’s look and appearance. In the same way, if you click on the header, you will see the header settings that you can change. It will be applied to the entire header bar. So, this is very important to understand.
Now, let’s see how to make the header sticky.
Setting Header as Elementor sticky header
We will now see how you can set the Elementor sticky header. Now that you know about all the things on how to set the menu and how you can create a header, we will focus on the main thing for which you are here.
To make the header sticky, you will have to make some changes in the customization part. So, it will be from the same section where you made the basic changes in the appearance of the menu in the above section.
So, let’s see the steps to add an Elementor sticky header.
Steps to add Elementor sticky header
You can follow the below-given steps and you will be able to create a sticky header.
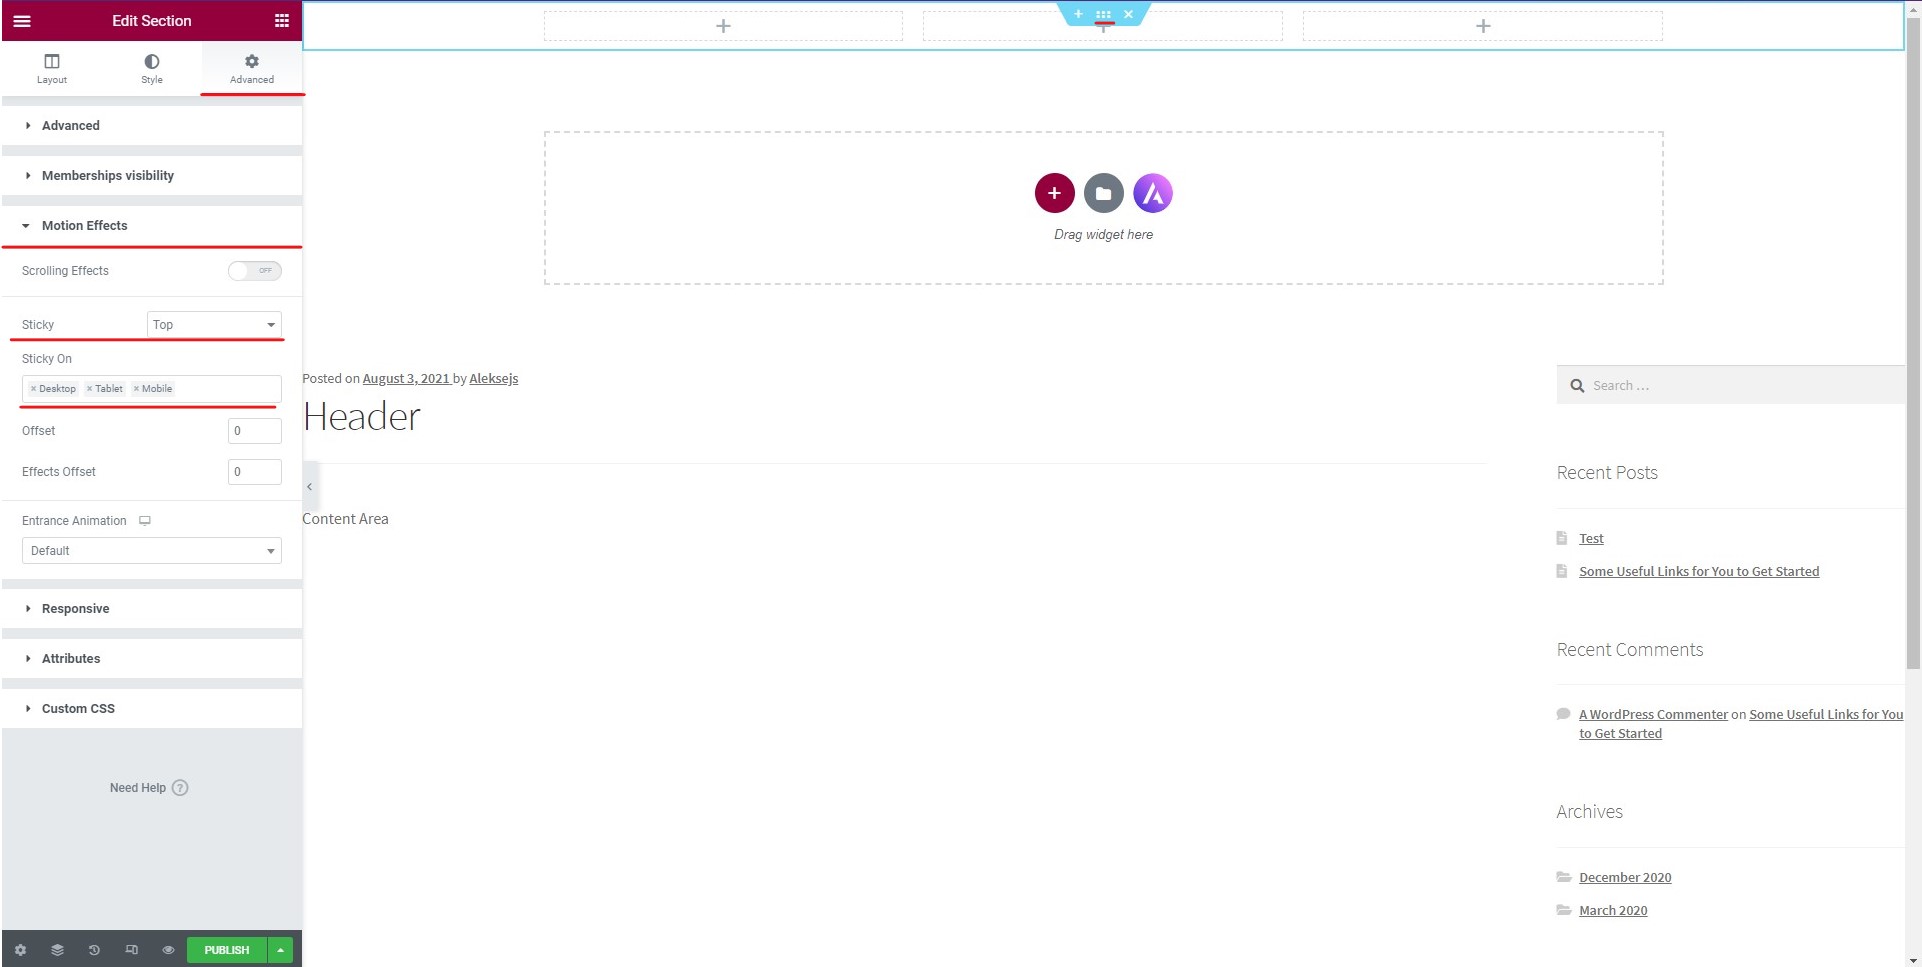
- At first, you will have to click on the header. You will see small dots in the top center of the header. You can click on it and it will open the header panel on the left.
- You can click on the advanced panel.
- In the advanced panel, you will have to open the motion effects section. This is where you can change and set the header menu as a sticky one.
- There will be an option which you need to turn on.
- When you turn it on, it will ask you to set the position. You can set it as top or button.
- Thereafter, you can save the menu and that’s it.
Not to mention, you can also make the customizations here. Let’s talk about it.
Customizing the Sticky Menu
You can customize the sticky menu as per your choice. There are some of the things that you need to keep in mind here.
At first, you need to set whether you want to see it as the top position or you want to see it as the bottom position. If you keep it at the bottom, the header won’t shift to the bottom, but the header will come to the button and stick there when the user scrolls. So, this is an important thing that you need to understand.
Thereafter, there are a few other things that you can change here.
You can change the visibility to select whether you want to display the sticky header only on desktop devices or show it on all devices such as mobiles and laptops. You can select the specific devices from the list.
You can also set the animation. If you want to show a slide in animation when the menu is shown, you can set it from the motion effects only. This is a very interesting thing you can set here. It will only be displayed when the sticky header is turned on. In simpler words, it will display when the user will start scrolling.
For advanced options, you can also set the offset and effect offset if you want. If you don’t know what they are, it’s always better to keep it at 0 and not touching it. This will make your work less messy. The offset helps you set the number of pixels scrolled before the header becomes sticky. Effect offset is the number of pixels the user needs to scroll before the header effects come into effect. You can set it as per your choice.
Styling and Transparency
Now, if you want to make your sticky header transparent or you want to add more style to it. You can use custom CSS. When you use custom CSS, it becomes easier to make the changes. You can easily do the changes.
If you are using the Elementor supported theme, it will be easier to style the Elementor sticky header. For instance, if you are using the Astra theme, you can use the below-given CSS to make your Elementor sticky header a bit more stylish.
Here is the code you can add in the custom CSS in the advanced panel. There will be a different section for the same where you can add the code.
selector.elementor-sticky–-effects { background-color: rgb(255, 220, 168) !important; }
selector { transition: background-color 3s ease !important; }
selector.elementor-sticky–-effects >.elementor-container { min-height: 80px; }
selector > .elementor-container { transition: min-height 1s ease !important; }
Don’t forget to set the offset to 100 before/after adding the CSS. You can then save the menu. Not to mention, feel free to play around with colors and other things if you want. You will just need basic CSS knowledge to make the changes there. So, it won’t be hard for anyone to do it.
You can also make your CSS and then have the header as per your choice.
Publishing the Header
Now that you are set, you can publish the header. When you are doing the same, there is one more step you will have to go through.
This is where you need to set the conditions. As soon as you hit the publish button, it will ask for other settings. This is where you can set the display conditions. This is where you can set whether you want to display the sticky header in the entire website or you want to show it only on certain pages.
So, you can set all these things, and then you can finally save the header.
Final Words about creating a sticky Header on Elementor
To conclude, this was all about the Elementor sticky header and how you can set it with the help of easy options. Not to mention, Elementor will allow you to add more options in the future as they are constantly adding more features. A few years ago, you could only set the sticky header and there were no other options available. So, there will be more options in the future. You can also use the theme customization options along with the Elementor.


