

Elementor product template is the best thing that you can add to your eCommerce website. You can easily start with the Ecommerce website by installing WooCommerce. However, the product page in WooCommerce gives very little functionality. Also, the looks are all same which makes it a bit boring. Therefore, you can go with the alternative and use an Elementor product template. This guide will cover the exact way to build the best Elementor product template that you can use for all the products.
Let’s begin with the overview and then we will see the steps to do it.
Overview of Elementor product template
Elementor product template is the template that allows you to change the product page and add new things to the page. Here, we won’t see how you can create an individual product page which is also known as a sales landing page. Instead, we will see how you can create an Elementor product template that can be used for every single product.
So, the next time you publish a product, it automatically considers the new template. Whenever the user visits the product page, they will see a new product page that is of the new template. Therefore, you can surely use this technique here.
It allows you to create a complete Elementor product template.
The main thing that you need to keep in mind here is the name of the elements. Many elements can be added to the product page. If you know what are elements that you need to add and you know the name of them, you are halfway there. So, when you are reading this guide. Make sure that you remember the name.
Also, you will need Elementor pro if you want to create an Elementor product template. It can’t be done from the free version of Elementor. So, if you are planning to create a template, you can upgrade to the pro version right now.
Thereafter, we can directly start the guide and see how you can create a complete template.
Getting Things Ready
The first thing you need to do is the preparation before you start the steps. Here, we will just do the basic preparations.
So, to begin with, you need to install the Elementor and WooCommerce plugin. You also need to install the Pro version of Elementor. It will give you a new plugin that is the Elementor pro plugin that you can install.
Once you have installed it and activated it, you can begin the guide.
Create a Blank Template
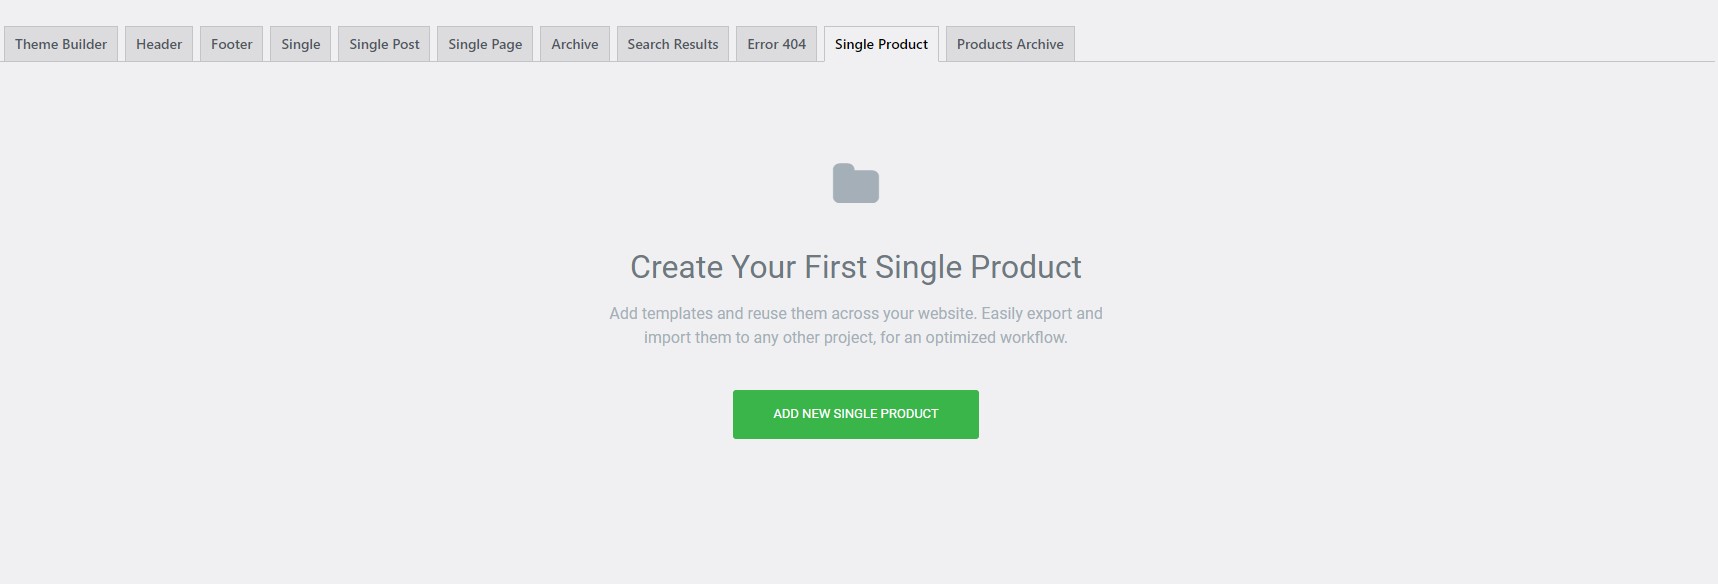
We will first head over to Elementor and then click on the theme builder. The theme builder will allow you to create a page for the template.
When you click on it, it will ask you which type of Elementor product template you want to create. You need to select “Single product” here.
In some older versions, you will have to do the same thing by going to Templates and then create the new Single product template from there. Either way, the steps are almost similar.
When you are there, you need to select the Elementor layout you want. The default layout is recommended one and will work for most of the cases. So, you can keep the default layout and then carry on to the next part.
We will now start creating a complete product page and see what are the things you need to add.
Menu Cart
The majority of people will forget this thing. If you already have it in the theme, you don’t need to worry about it.
However, if you don’t have it in the theme or you have created the many on your own using Elementor, you need to add the Menu cart.
There will be a widget for the same. it will display the cart icon in the menu. Users can see their cart items from here.
Breadcrumbs
Once you do this, the first thing that users see is the breadcrumbs. This is nothing but the location of the product.
Store > Shoes > Casual Shoes > Model123
This is how the breadcrumbs look. So, you can add the breadcrumbs as well on the web page. Once you add it, you can proceed to the actual product information.
We will divide the product section into two parts. The first one is the one that people usually look for such as short description, price, ratings, etc. The next half will cover more details like the exact list of features, reviews, etc. Most people will just look at the first half and make the decision. So, you need to give proper attention to the first half of the product.
Thereafter, you can do the second half of the Elementor product template too.

Elementor Product Template First Half
The first Elementor product template will cover the spotlight things.
At first, you need to add the title of the product. You can either add it in the full width or the preferred one will be in the right column where the left one is the product image.
Here, we will create a section with two columns.
In the first column, we just have the product images. Thereafter, on the right column, we have a bunch of product information that we will see here.
You can add the title like we have mentioned retailer. Below the title, you can have the product rating. This will convince the users to buy the product. If there is a rating shown directly there, the users are more likely to buy from you. So, you can add the ratings there.
Thereafter, you can add the price at the bottom. You can also add the short description there and then you can add the add to cart button.
This is how most of the product pages look like. You can surely add the number of quantities left at the bottom. This will trigger scarcity.
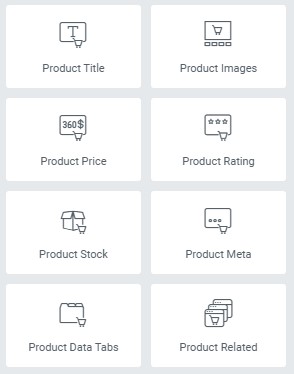
Here is the list of things that you need to add here. Also, these are the same names that you can find in the widget. So, you can look for the following widgets and then add them.
- Product images
- Product title
- Price
- Product ratings
- Short description
- Add to cart button
- Product stock
- Meta description (SKU and other things)
Product Second Half
Once you have added all the above-given things, it’s time to show more details about the product,
Here, there are various ways you can add things. The most preferred way would be the tabbed way. You might have seen in WooCommerce itself that there are tabs where the users can click on any tab and see the information they want.
If you don’t want to add to tabs, you can also add it directly to the page. This depends on the amount of information you want to put in here.
Usually, the second half involves a long description. That’s it. There are no other things that you might need here. However, people often play around a little bit and add more things here.
For instance, if you are selling electronic items, you have one tab for the description, the second tab for the feature table, and the third one can be the manual. You can also add the technical things in a new tab.
The main aim of this is section is to ensure that the user can understand all the details about the product and they will have every question solved.
FAQ and Review
Talking about questions, you can also add a FAQ section just like big eCommerce websites have. This will answer the most common questions that users have. This will again increase the chances of making a sale.
The next section is all about the reviews. This is where you can add the reviews of the customers. Don’t display all the reviews. You can just display the most helpful reviews of the product.
Upsell
This is where the real magic comes in for the Elementor product template. Once the user has come to the end of the page, they might have two things in their mind. Either they will directly scroll up and buy the product or they will start looking for another product. There are good chances that the user might leave the page and look for the products on a different website. You surely don’t want to do that.
Therefore, we will display “Products you may like” and “related products” here. You can look for products and you will find many such widgets that you can add here. This is how you can increase product sales.
Here, we will add more such widgets that allow us to sell more. Thereafter, your product page is completed.
You can then save the changes and that’s pretty much it.

Save the Elementor product template
But wait, saving is not as easy as it sounds. For regular templates, we might simply hit the save button and that’s it. However, here things are different.
Here, you will have to take few more steps to save the exact changes.
When you hit the save button, it will ask you to set the conditions. This is where things change a little bit. You will have to set the conditions here.
As we want all the products to use this specific template, we will be using that condition here.
Just include all the products and that’s it. It will then use the same template for all the products.
But wait, what if you want to display the Elementor product template only for specific products and not for all the products.
You have two ways to do it. You can either set the exclude condition nad exclude specific categories. Alternatively, you can also include the products from a specific category.
This is how you can set the conditions. When you set the conditions to include, the Elementor product template will be shown to that specific template.
Now, there is one more way to set the Elementor product template. Let’s talk about that.
Importing Elementor product template
Now, there is an easy way to set the Elementor product template. this is where you won’t get complete customization features but it’s easier to create the template using this method.
Elementor has some of the templates that you can directly import and start using. You can import the templates for the WooCommerce product and then save them as your template.
You can import it just like you import the regular template.
For that, you will have two methods here. You can either import the entire template and start making the changes there. Now, if you don’t want to do that, there is one more option that you have here. This is where you can import the blocks and create the template on your own.
Elementor provides blocks. These blocks are nothing but a section that is already created for you. you can directly start importing the blocks. There will be many blocks. For instance, if you want a block for the product’s first half, you can directly import that block. It will already have all the elements added. If you want to change something here, you can surely make the changes as it’s completely editable. You can make the changes and then publish them. This is how you can create the best Elementor product impact for your website.
Alternatively, you can also import the template and customize it. Combining both of these will make your work extremely easier.
Final Words
To conclude, this is how you can create an Elementor product template that works well with every single website. Instead of creating it from the scratch, we recommend you import the template or at the least blocks. If you import the blocks, the work will be a lot easier for you. This is how you can start making the changes in your Elementor product template. Don’t forget to add the widgets in the ready-made template. You can surely add extra widgets or customize the existing widgets as per your choice. This is the preferred way to create an Elementor product template.


